

Welcome to the fifth blog post in our “Kubeflow Fundamentals” series specifically designed for folks brand new to the Kubelfow project. The aim of the series is to walk you through a detailed introduction of Kubeflow, a deep-dive into the various components, add-ons and how they all come together to deliver a complete MLOps platform.
If you missed the previous installments in “Kubeflow Fundamentals” series, you can find them here:
- Part 1: An Introduction
- Part 2: Machine Learning Workflows
- Part 3: Distributions and Installations
- Part 4: External Add-Ons
In this post we’ll focus on getting a little more familiar with one of the first Kubeflow components data scientists will get familiar with, Kubeflow Notebooks. Ok, let’s dive right in!
What are Kubeflow Notebooks?
Kubeflow Notebooks provide a way to run web-based development environments inside a Kubernetes cluster. These Notebook servers run as containers inside a Kubernetes Pod.
Which development environment is available inside of Kubeflow (and which packages are installed) is determined by the Docker image used to invoke the Notebook server. Note that users can create notebook containers directly in the Kubeflow cluster, rather than having to configure everything locally on their laptops. Another benefit of this arrangement is that admins can provide standard notebook images for their organization with all the required packages pre-installed. There are plenty of stories in the data science community of it taking hours, days, even weeks to just get the notebook environment set up correctly with all the tools, libraries and dependencies sorted out. A final advantage is that access control can be managed by Kubeflow’s role-based access control capabilities. This enables easier and more secure notebook sharing across an organization.
What development environments are supported?
Kubeflow Notebooks natively supports three types of IDEs:
- JupyterLab
- RStudio
- Visual Studio Code (code-server)
But technically, any web-based IDE should work!
RStudio
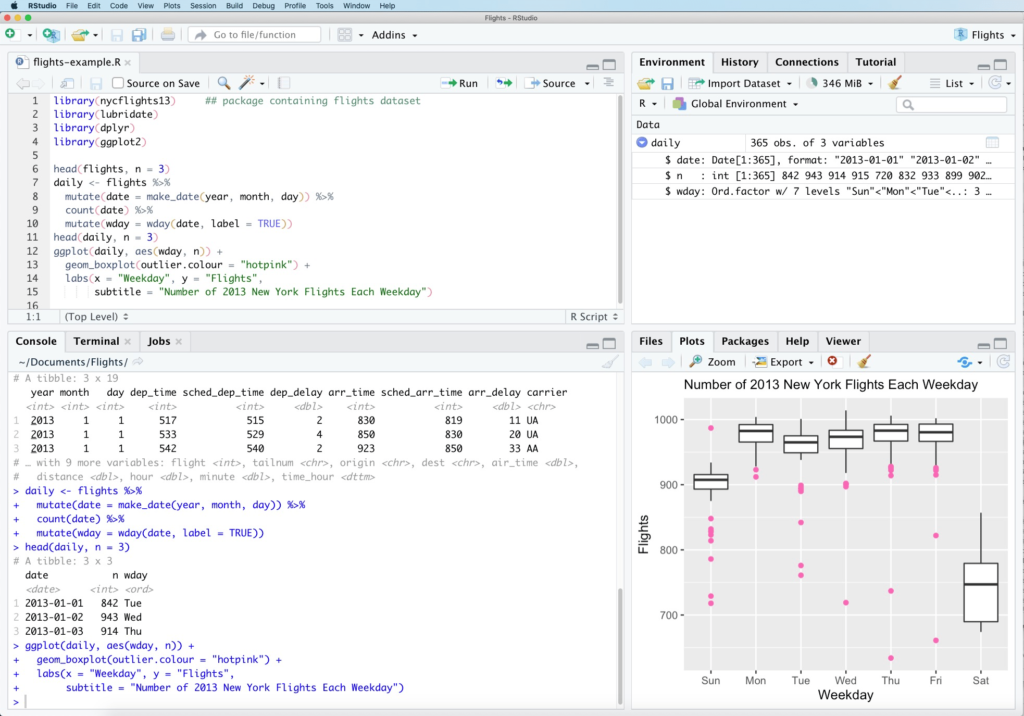
RStudio is an IDE for R and Python, with a console and syntax-highlighting editor. It supports direct code execution, and features tools for plotting, history, debugging and workspace management. It is currently branded as RStudio Team with both open source and commercial versions.
- RStudio Workbench for data scientists
- RStudio Connect for business users
- RStudio Package Manager for DevOps
To learn more about RStudo, check out: https://www.rstudio.com/
Visual Studio Code
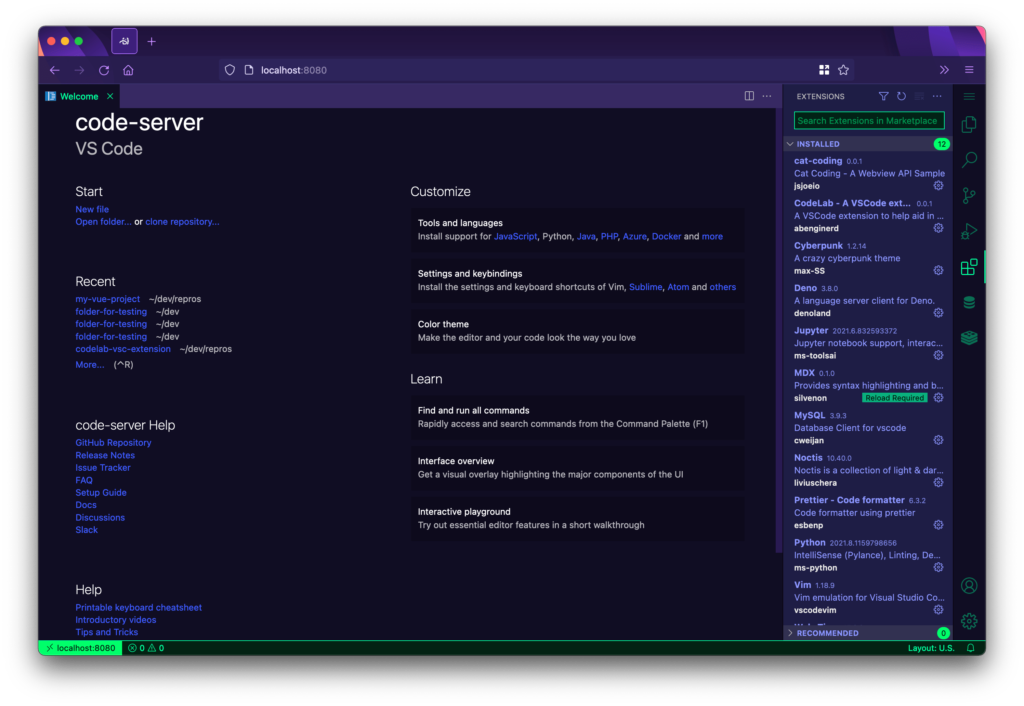
Visual Studio Code is a free, lightweight, and cross-platform code editor from Microsoft. VS code-server allows you to run VS Code on any machine and access it in the browser which is critical for Kubeflow Notebook integration. Its features include IntelliSense, in editor debugging and Git commands built-in. Finally it supports not only Python, but also a large variety of other languages and frameworks.
For more information, check out: https://github.com/cdr/code-server
JupyterLab
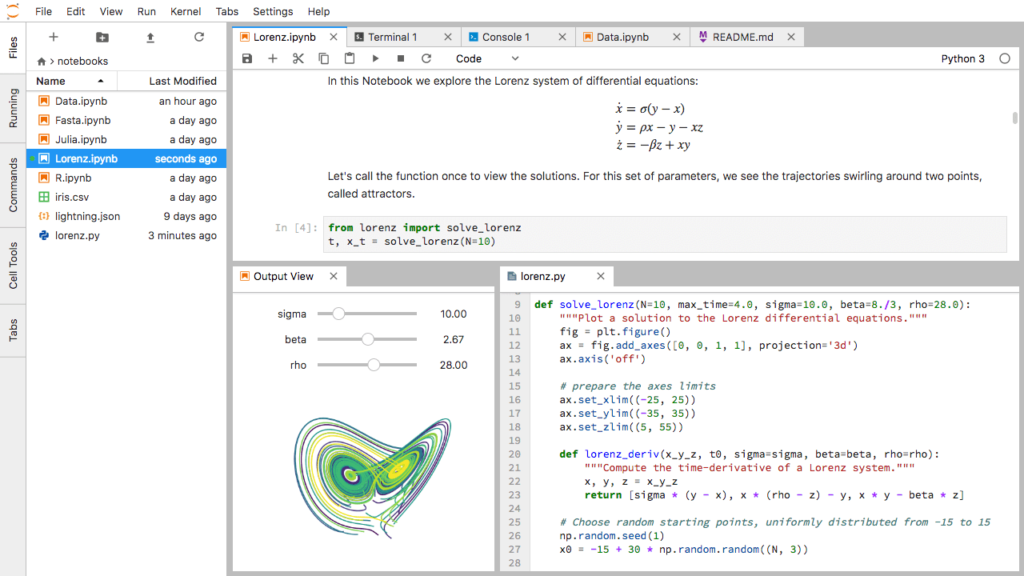
JupyterLab is an open source, web-based environment for creating Jupyter notebook documents. The development environment is very useful in interactive data science and scientific computing projects across a variety of programming languages. Jupyter’s JSON documents follow a versioned schema, contain an ordered list of input/output cells, can contain code, text (via Markdown), math (via LaTex), plots and even rich media. One thing worth mentioning is that the term “notebook” term can often refer to the Jupyter web application, Jupyter Python web server, or the Jupyter document format, so pay attention to the context in which the term is being used!
For more information, check out: https://jupyter.org/
JupyterLab in Kubeflow
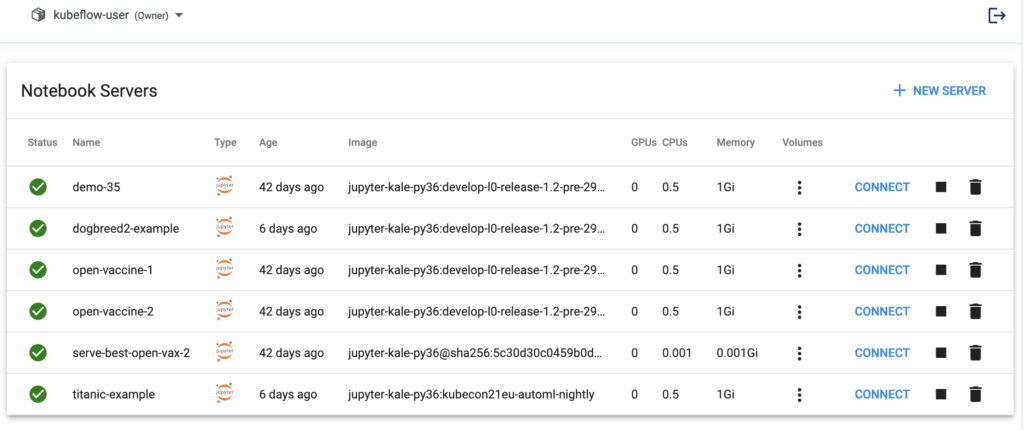
The Kubeflow Notebooks Web App enables you to easily spin up JupyterLab Notebook Servers. These servers can contain multiple Jupyter Notebooks, but it is more common to have a 1:1 mapping between notebook and server. Ok, let’s walk you through the process of setting up a new Notebook Server!
Install Kubeflow
Obviously, the first thing you need to do is to install Kubeflow. You basically have two options, go with a packaged distribution from a vendor or roll/support your own via manifests. (For a complete discussion on installation options, check out: “Kubeflow Fundamentals Part 3: Distributions and Installations.”)
For the purposes of this walk-through we are going to go with the MiniKF packaged distribution. Why?
- It is the easiest way to get started on AWS, GCP or locally
- Comes pre-bundled with all the correct and necessary Kubeflow components
- Is pre-configured with the open source Kale Jupyter extension to make pipelines and AutoML jobs a snap
- Plus the Rok data management add-on that makes snapshotting and restoring notebooks or entire clusters (including data and metadata) a point and click operation
For more info, check out: Install Kubeflow
Create a new Notebook Server
Now that we have Kubeflow installed we are ready to create a Notebook Server.
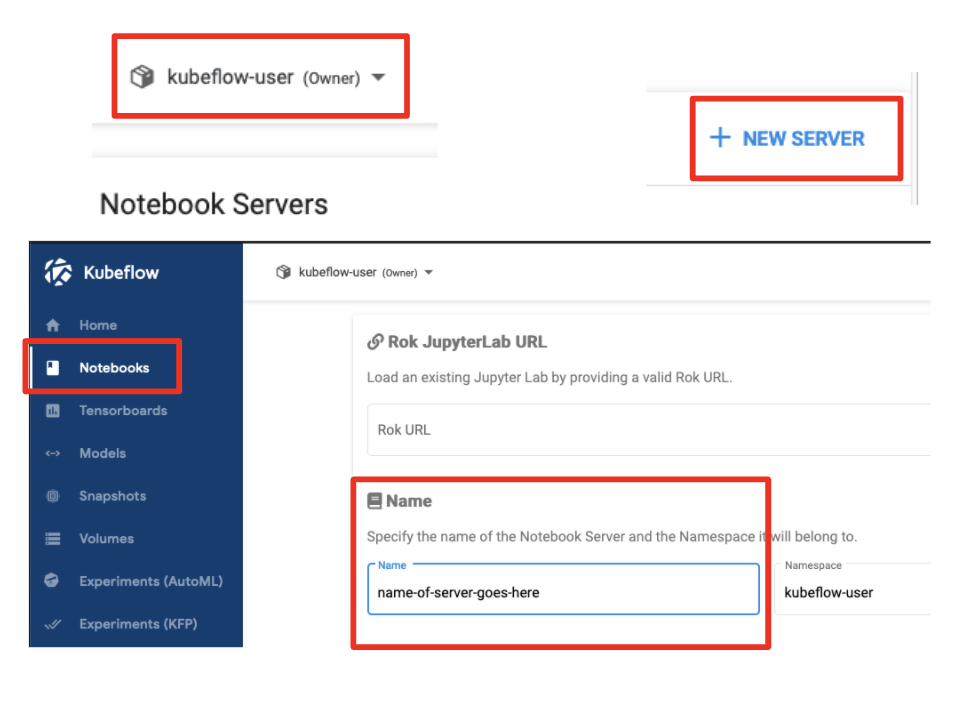
- Select the appropriate namespace
- Click on “Notebooks”
- Click on “New Server”
- Name your Notebook Server
Note: Notebook Server names must consist of lowercase alphanumeric characters or ‘-‘, start with an alphabetic character, and end with an alphanumeric character.
Configure the Notebook Server (Basics)
Next up, let’s set the required configuration options.
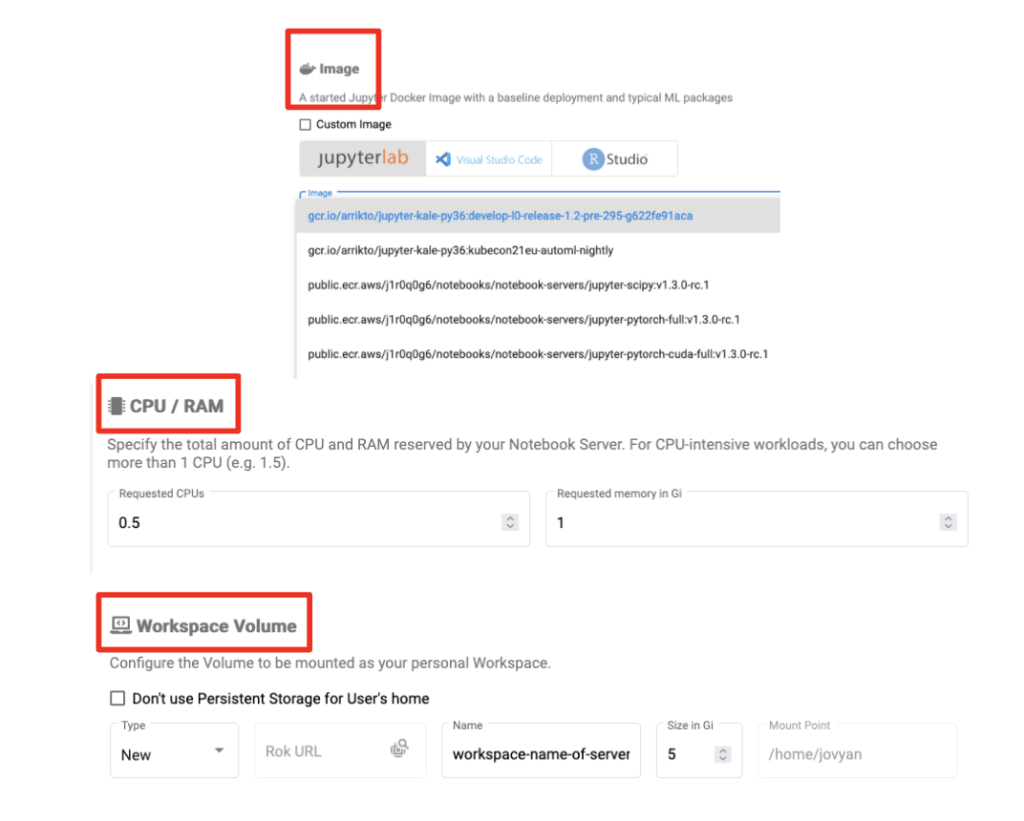
- Select a Docker image for your notebook server
- Two options: custom images or standard images (provided by your admin)
- Specify CPU and RAM
- Specify a “workplace volume” to be mounted as a PVC Volume
- Click “Launch”
Container Images (Optional)
Kubeflow ships with some base VS Code, RStudio and JupyterLab example container images.
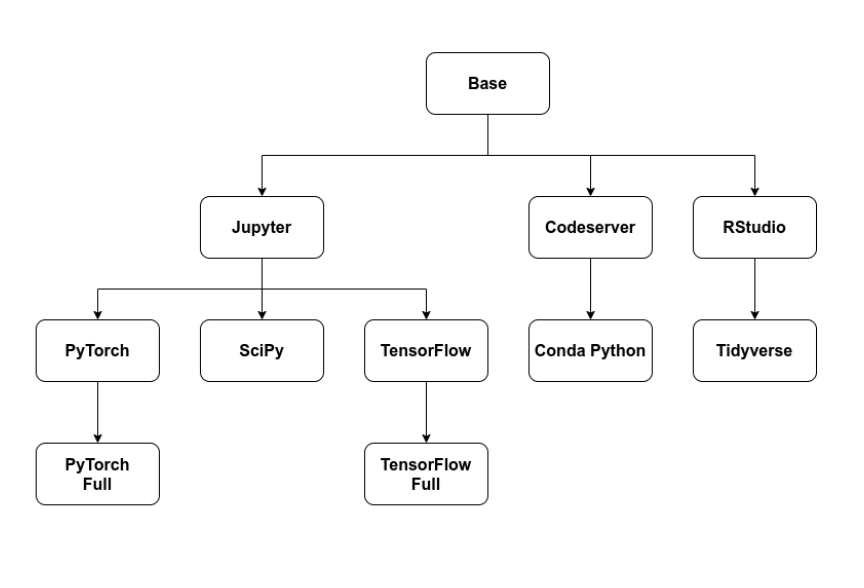
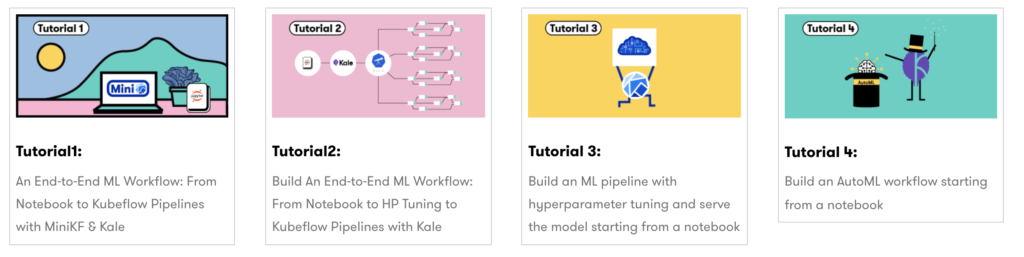
There are also extended images that build off the base images that showcase PyTorch, SciPy, TensorFlow and more. You can choose these options instead of an image you’ve provided. When you install Kubeflow via MiniKF, you actually get all the images you’ll need to work through any of our four tutorials by default!
Notebook Server from a Snapshot (Optional)
Creating a Notebook Server from a previous snapshot is only possible if you have installed Kubeflow via the MiniKF distribution. Assuming you’ve already made a snapshot of the Notebook, here’s the necessary steps:
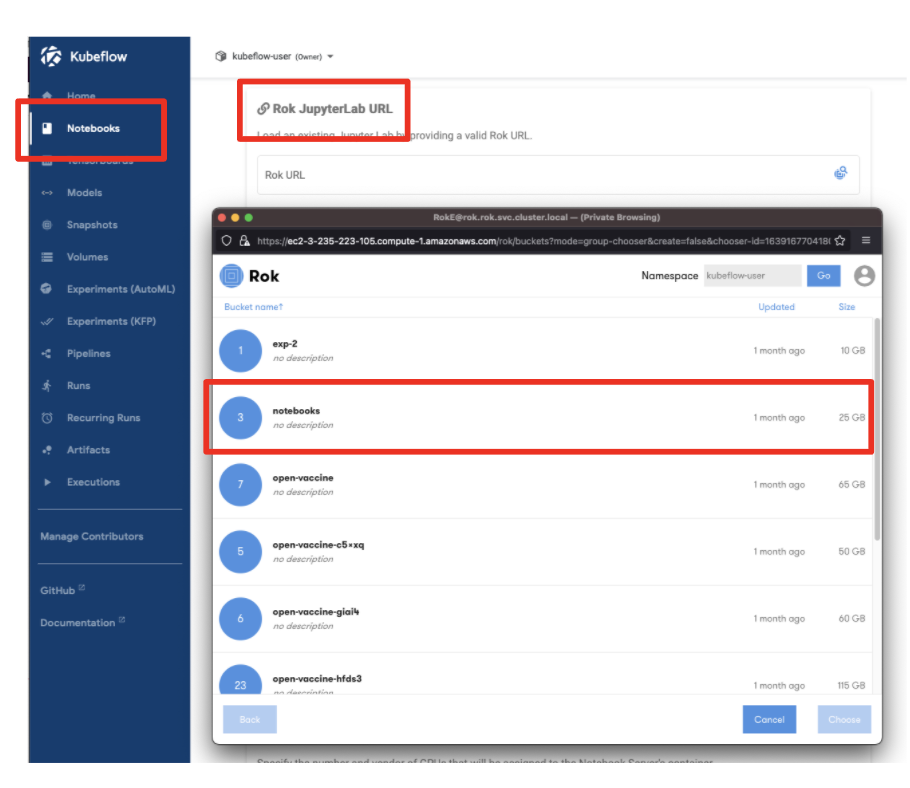
- Select a namespace
- Click “New Notebook”
- Select the Rok file chooser
- Select the Notebook via a Rok URL
- Name the Notebook
- Click “Launch”
Configure the Notebook Server (Optional)
There are some final optional Notebook Server options worth mentioning which may or may not be relevant based on your use case and environment:
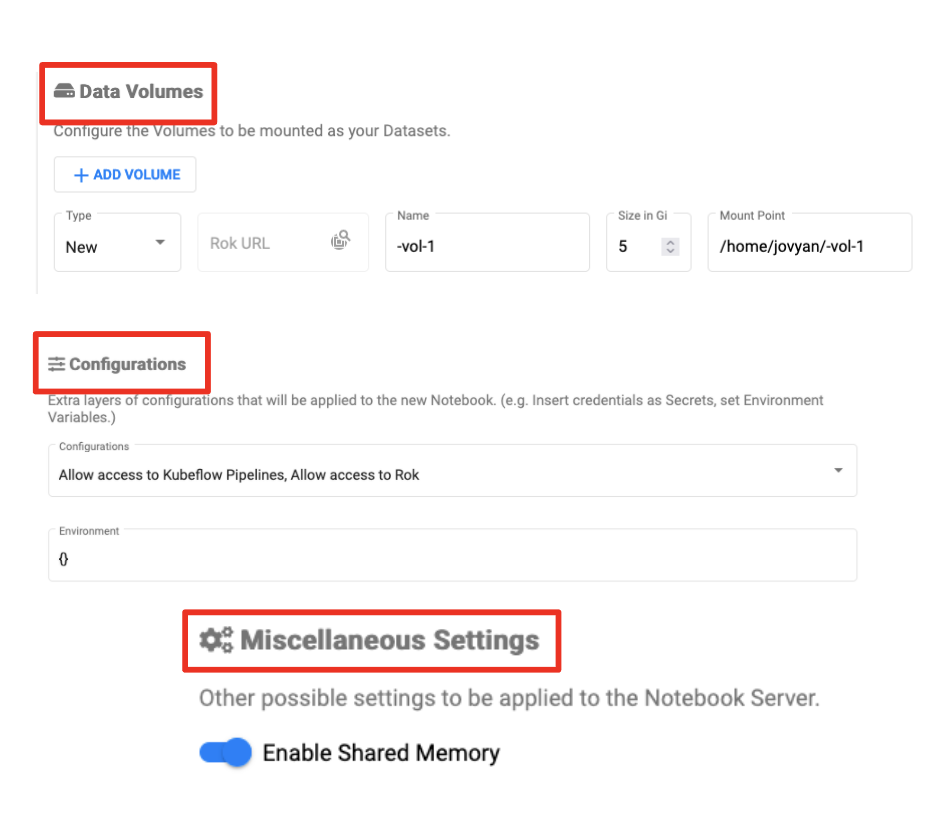
- Data volumes
- Configurations – PodDefault resources
- GPUs
- Enabling shared memory
About the Notebook Pod ServiceAccount
Kubeflow assigns the default-editor Kubernetes ServiceAccount to Notebook pods.
Which in-turn is bound to the kubeflow-edit ClusterRole, which has namespace scoped permissions. You can get the full list of RBAC for ClusterRole kubeflow-edit using:
kubectl describe clusterrole kubeflow-edit
Note that this setup means you can run kubectl inside the pod without providing any additional authentication!
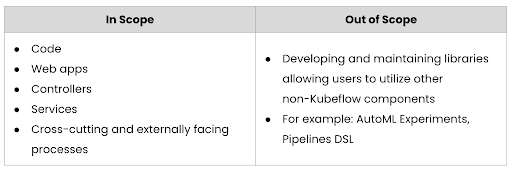
How are Kubeflow Notebooks governed and developed?
Recall from previous posts that Kubeflow development is broken up into smaller “working groups” that focus on a subset of components and features. “WG Notebooks” is responsible for the user experience around Notebooks and their integrations with Kubeflow.
What’s next? Part 6 – Working with Jupyter Lab Notebooks
Stay tuned for the next blog in this series where we’ll focus on getting a little more familiar with Jupyter notebooks and how we can leverage them within Kubeflow as part of our machine learning workflow.
Book a FREE Kubeflow and MLOps workshop
This FREE virtual workshop is designed with data scientists, machine learning developers, DevOps engineers and infrastructure operators in mind. The workshop covers basic and advanced topics related to Kubeflow, MiniKF, Rok, Katib and KFServing. In the workshop you’ll gain a solid understanding of how these components can work together to help you bring machine learning models to production faster. Click to schedule a workshop for your team.
About Arrikto
At Arrikto, we are active members of the Kubeflow community having made significant contributions to the latest 1.4 release. Our projects/products include:
- Kubeflow as a Service is the easiest way to get started with Kubeflow in minutes! It comes with a Free 7-day trial (no credit card required).
- Enterprise Kubeflow (EKF) is a complete machine learning operations platform that simplifies, accelerates, and secures the machine learning model development life cycle with Kubeflow.
- Rok is a data management solution for Kubeflow. Rok’s built-in Kubeflow integration simplifies operations and increases performance, while enabling data versioning, packaging, and secure sharing across teams and cloud boundaries.
- Kale, a workflow tool for Kubeflow, which orchestrates all of Kubeflow’s components seamlessly.