

We are extremely excited to announce that MiniKF is now available on the Google Cloud Marketplace!
We collaborated with Google to bring you the same seamless experience you are getting with MiniKF on your laptop, now on Google Cloud Platform (GCP). So, you can have all the resources you need, anytime, to unleash the full potential of your ML power!
MiniKF was initially introduced on March 7, 2018 during the Kubeflow Contributor Summit. This version of Mini Kubeflow is a Vagrant Box that users install on their laptop by just running two commands. The adoption of MiniKF by the community has been tremendous with over 5,500 downloads until now.
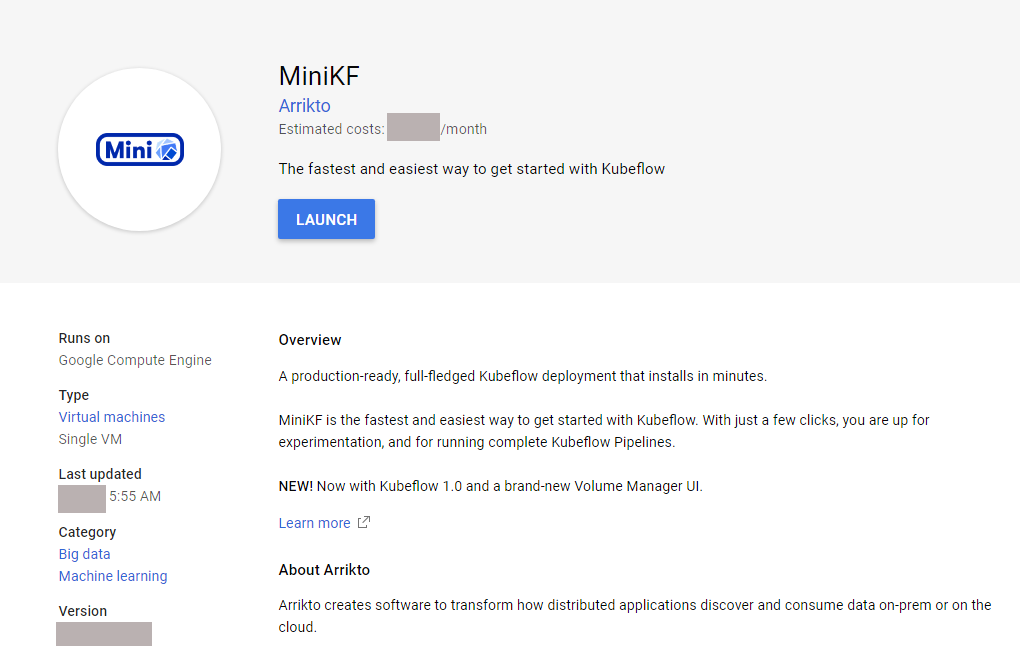
MiniKF is the fastest and easiest way to get started with Kubeflow. With just a few clicks, you are ready for experimentation, and for running complete Kubeflow Pipelines.
Now, you can install MiniKF on GCP with the click of a button!
To install MiniKF on GCP, follow the steps below:
1. Go to the MiniKF page on Google Cloud Marketplace.
2. Click on the Launch button
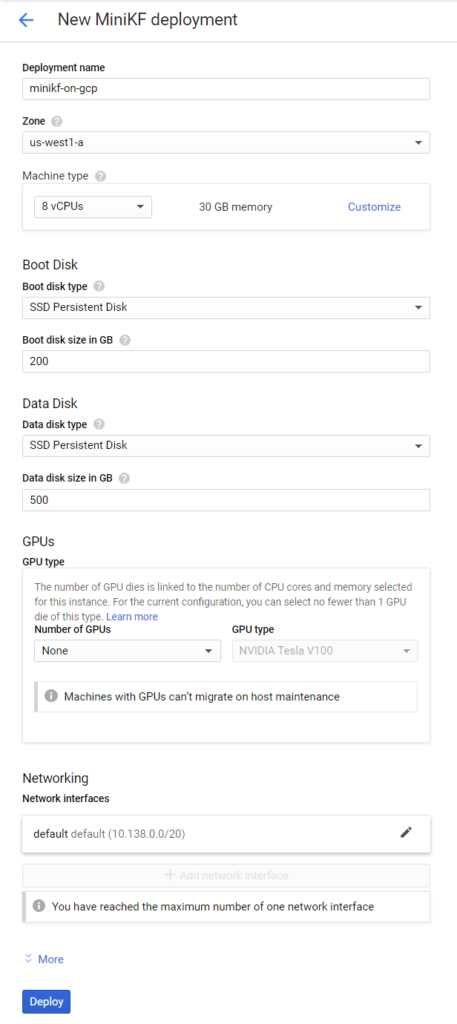
3. In the Configure & Deploy window, choose:
- name: a name for your MiniKF instance
- zone: the GCP zone that you will deploy MiniKF
- machine type: a machine type with at least 2 vCPUs and 16 GB of RAM. We propose using the default machine type, n1–standard-8, which has 8 vCPUs and 30 GB of RAM.
- boot disk: A boot disk. This is the disk that holds the images that MiniKF needs. We propose using the default value of 200 GB SSD Persistent Disk.
- extra disk: An extra disk. This is the disk that holds your snapshots. We propose using an SSD Persistent Disk of at least 500 GB capacity.
- GPUs: add one or more GPUs if you are running computationally intensive ML workloads.
Then click Deploy:
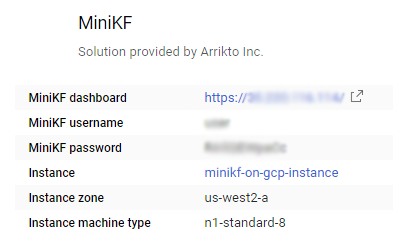
4. Now wait for the VM to boot.

5. When the VM is up, ensure that MiniKF is up and running. Before visiting the MiniKF dashboard, ensure that Minikube, Kubeflow, and Rok are up and running. To do so, click on the SSH button to connect to the MiniKF VM and follow the on-screen instructions.

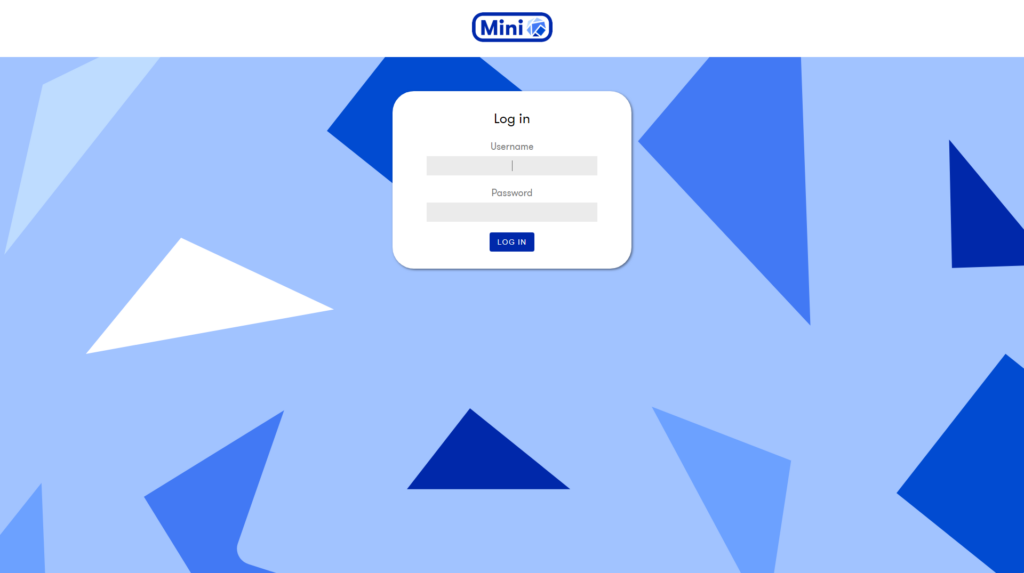
6. Log in to MiniKF. Visit the MiniKF dashboard URL and log in to Kubeflow using the MiniKF username and password.
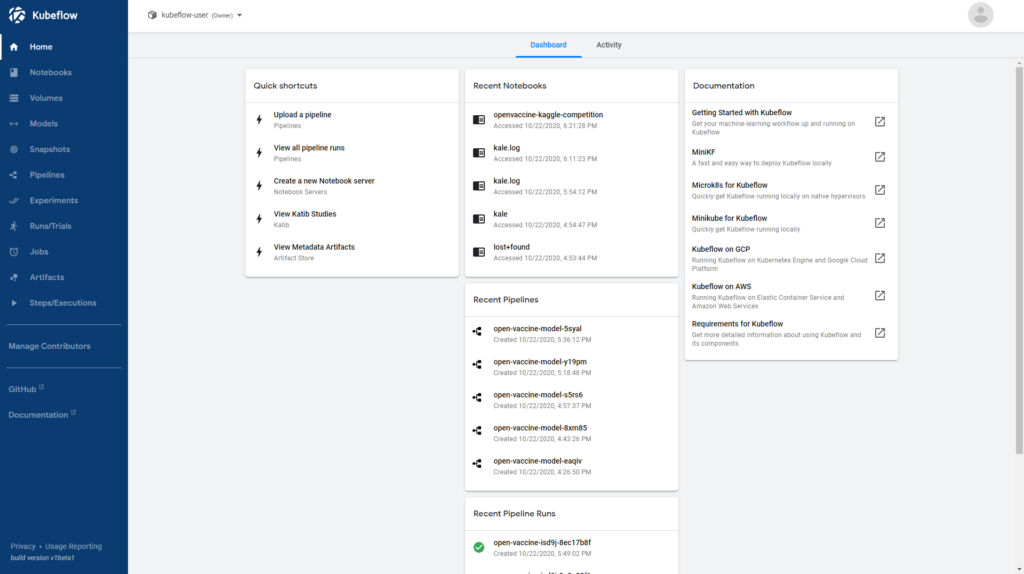
Once you log in, you will see the Central Dashboard
Congratulations! You have successfully deployed MiniKF on GCP! You can now create Notebooks, write your ML code, and run Kubeflow Pipelines. Learn more about MLOps and our MLOps platform for fast and efficient machine learning workflow.