Deploy a Notebook Server and Kubeflow Pipeline in less than 5 minutes!
Connect to a Kubeflow deployment
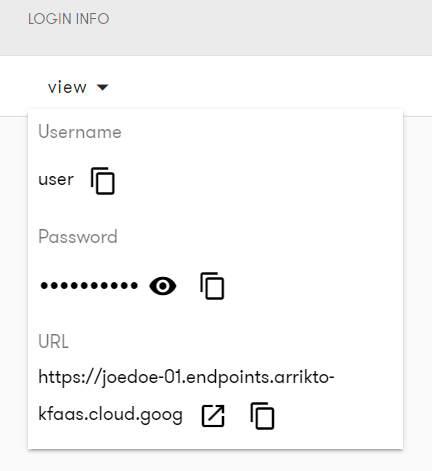
1. Find your login info in the LOGIN INFO column. Click view to see them.
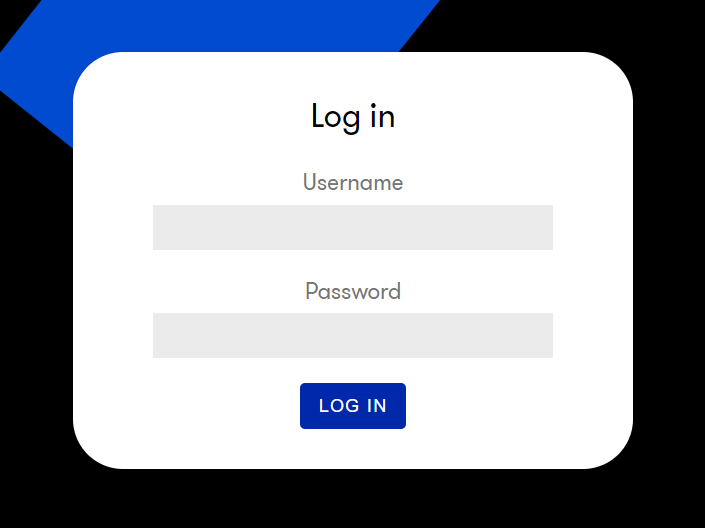
2. Copy the username and password and visit the URL inside the login info pop up. You will see the new Kubeflow deployment’s login page.
3. Provide the username and password you found inside the login info, then click LOG IN.
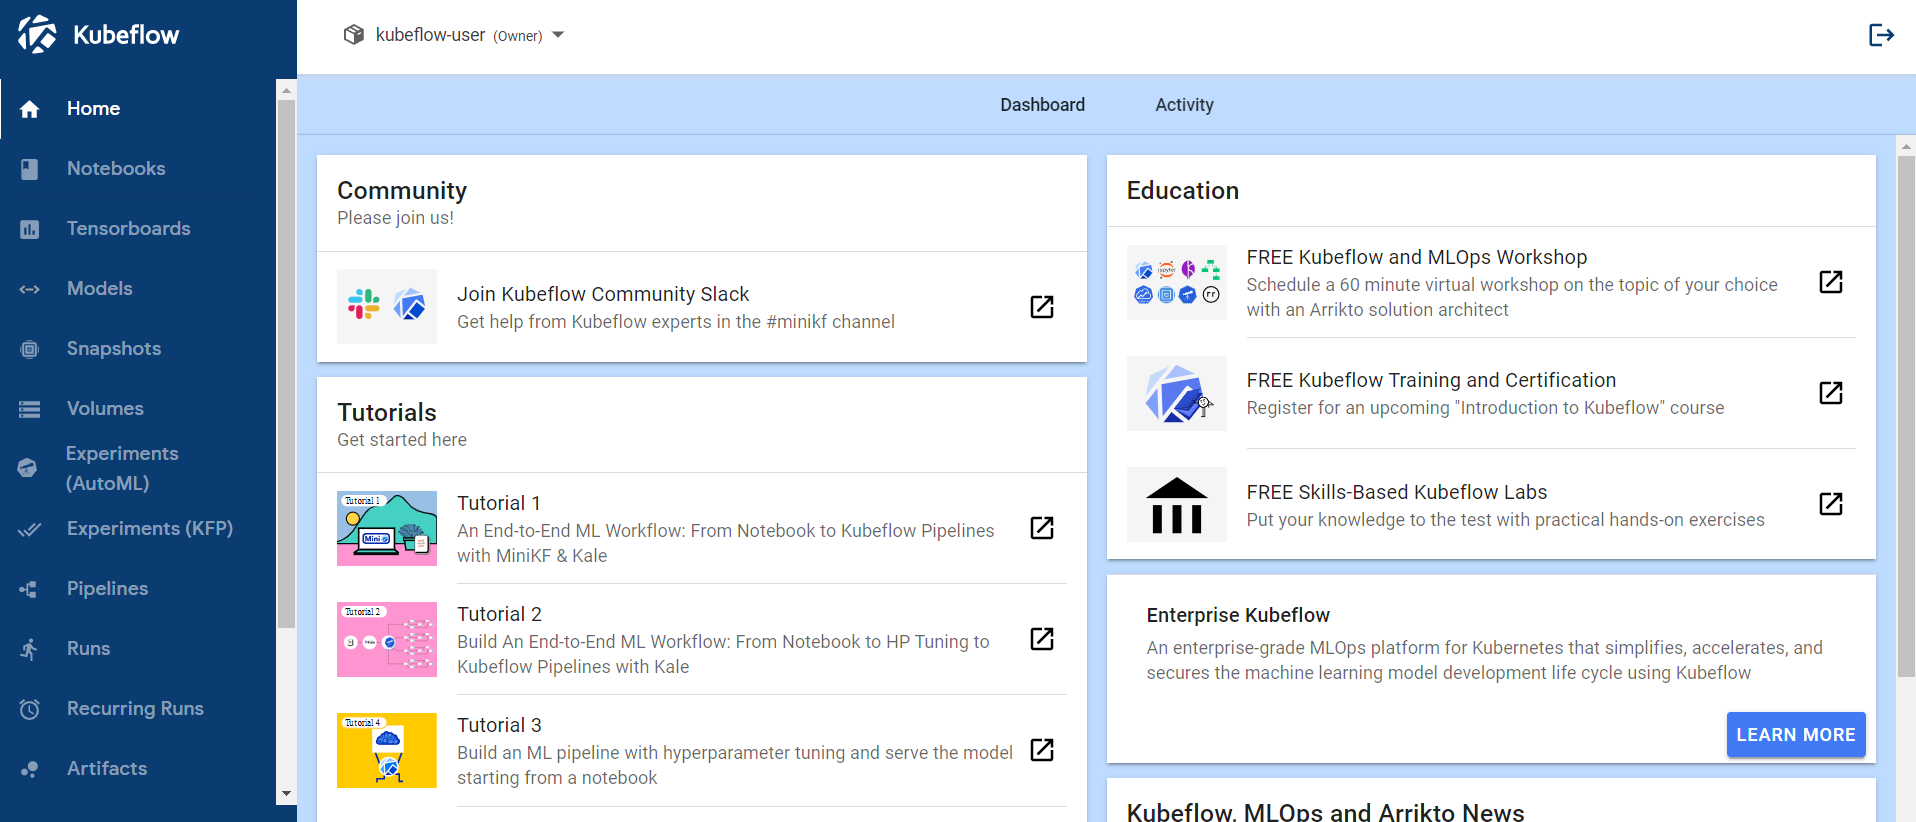
4. You will get redirected to the Kubeflow central dashboard.
Create your first Kubeflow pipeline
Now that you are comfortable managing and connecting Kubeflow deployments, it’s time to get down to ML business!
Create your first training pipeline in under 5 minutes following the instructions below and then complete a survey to claim your thank you gifts!
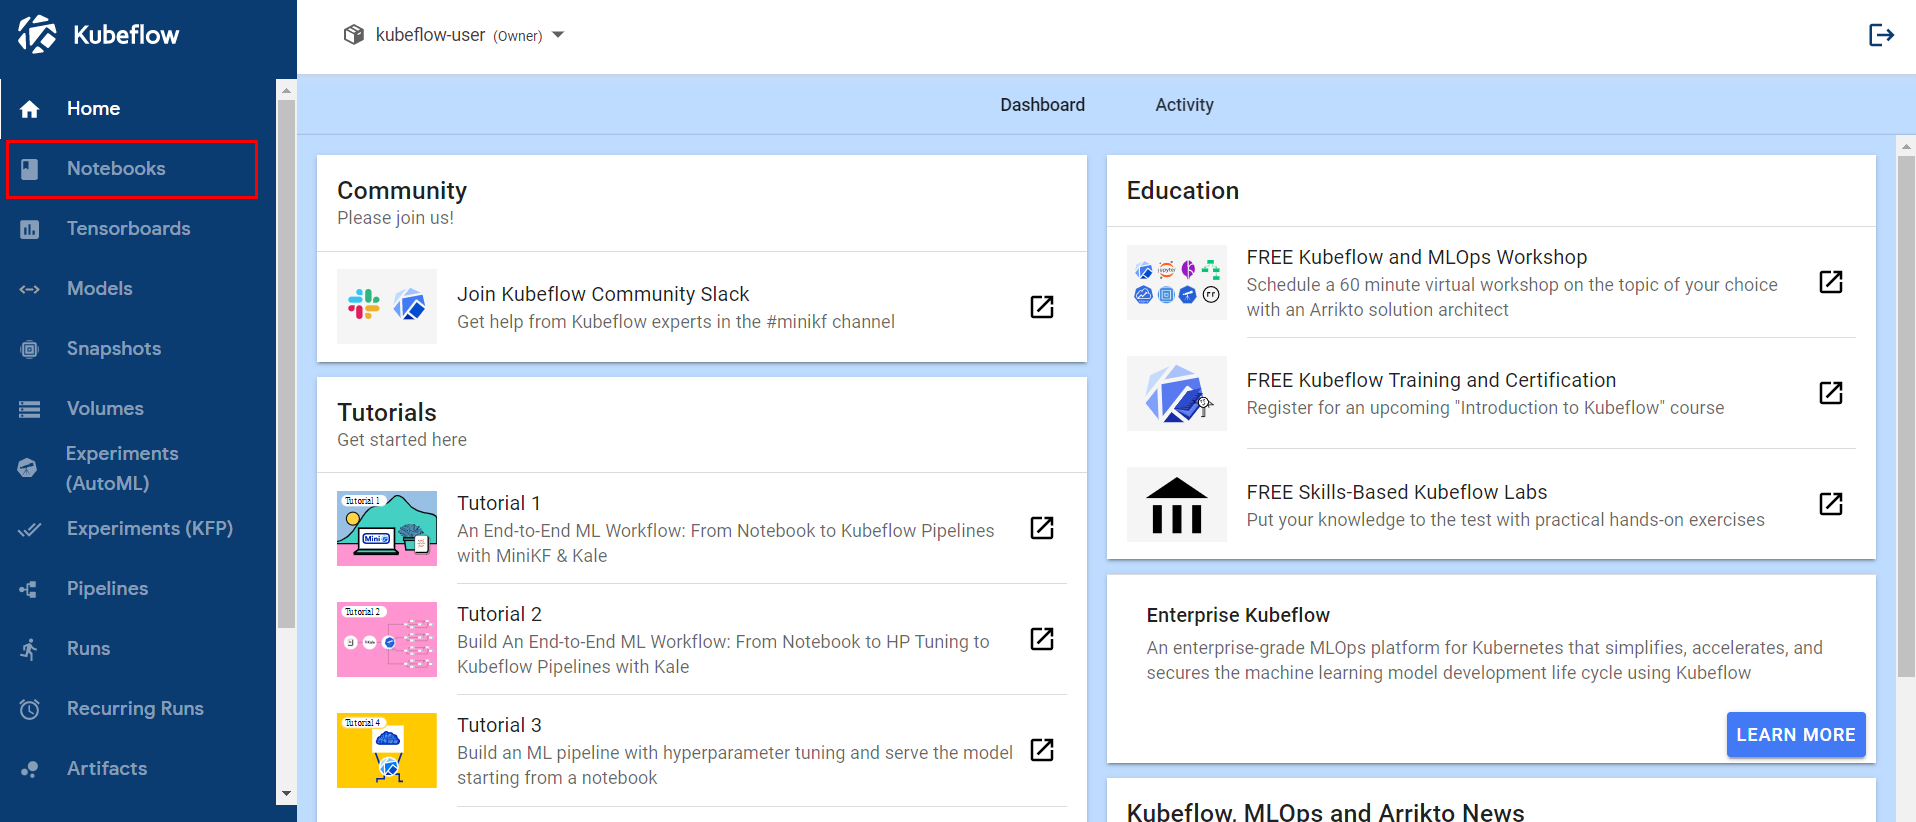
1. Navigate to the Notebooks tab on the Kubeflow central dashboard.
2. Create a new notebook by clicking on + New Notebook.
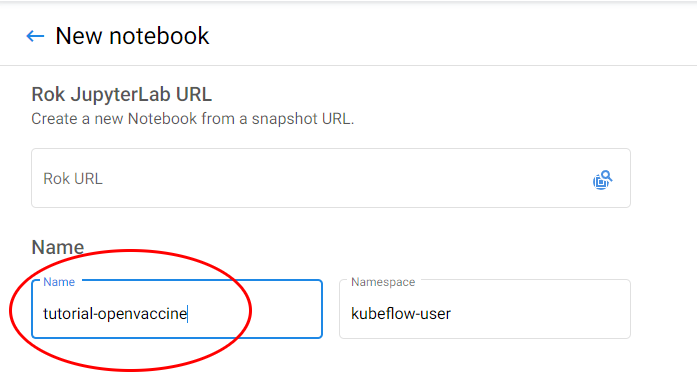
3. Specify a name for your notebook.
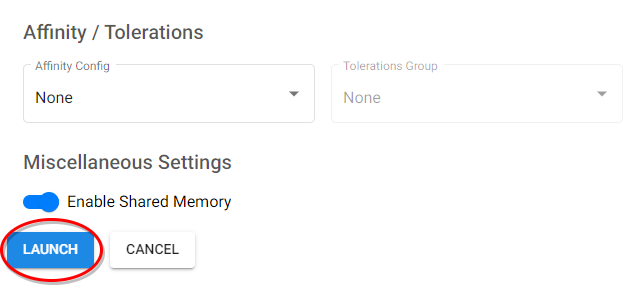
5. When the notebook is available, click CONNECT to connect to it.
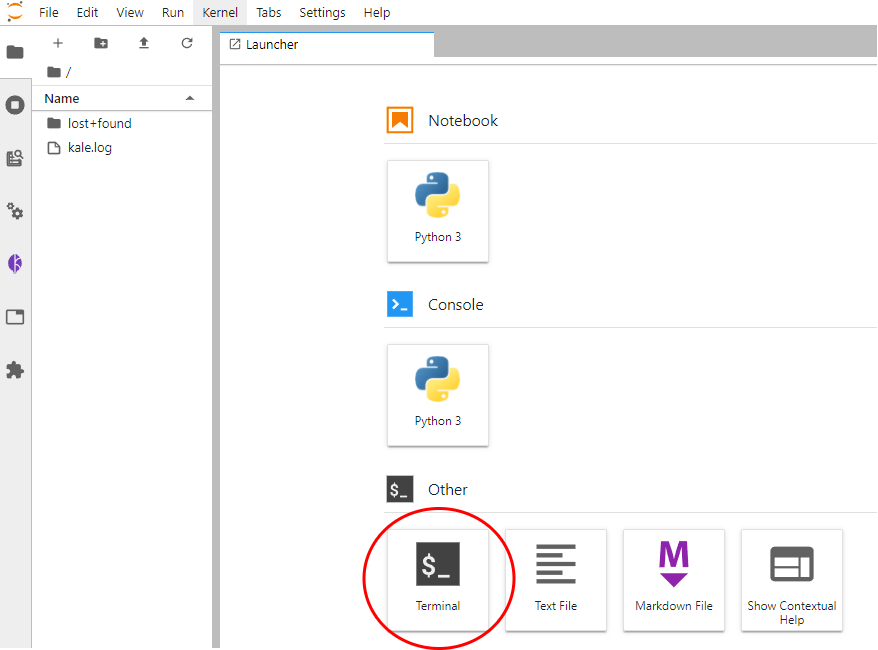
6. Create a new terminal in JupyterLab.
7. In the terminal window, run this command to download the notebook and the data:
git clone https://github.com/kubeflow-kale/kale -b minikf-examples
8. Navigate to the folder kale/examples/openvaccine-kaggle-competition in the sidebar and open the notebook open-vaccine.ipynb
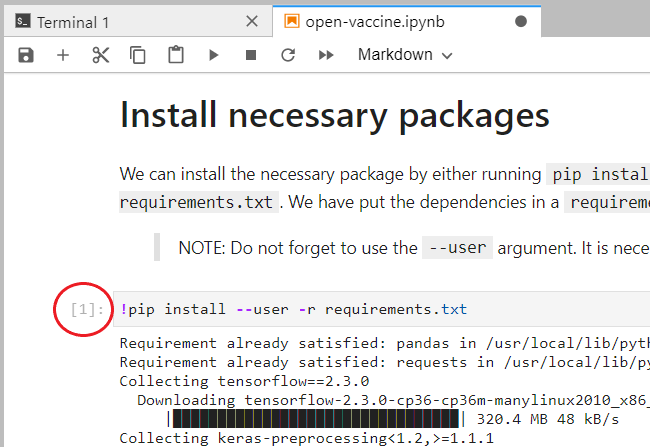
!pip-install command to install the necessary libraries. To run the cell go inside the cell and then either click the PLAY button or hit SHIFT + ENTER10. Wait for the command to finish. You should see a number next to the cell when the command finishes.
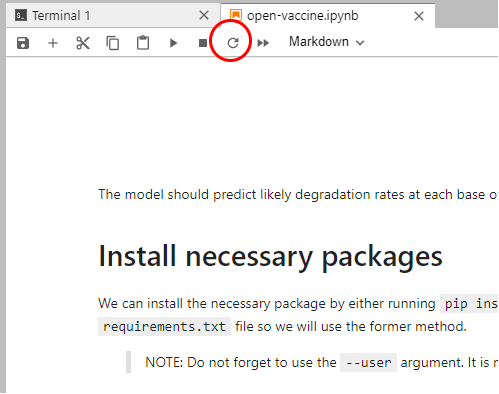
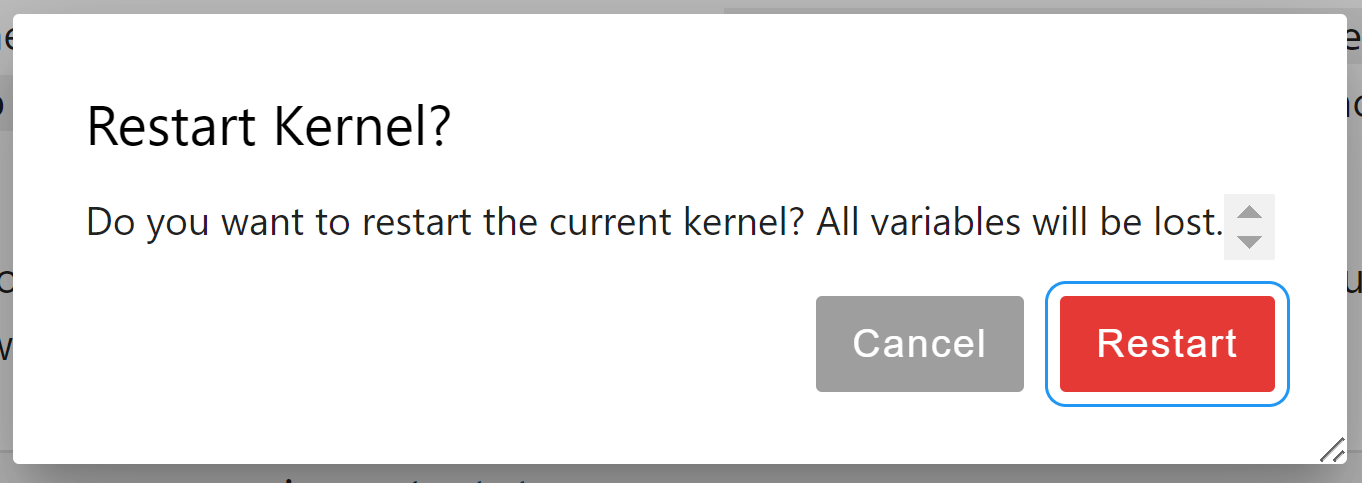
11. Restart the notebook kernel by clicking on the REFRESH icon.
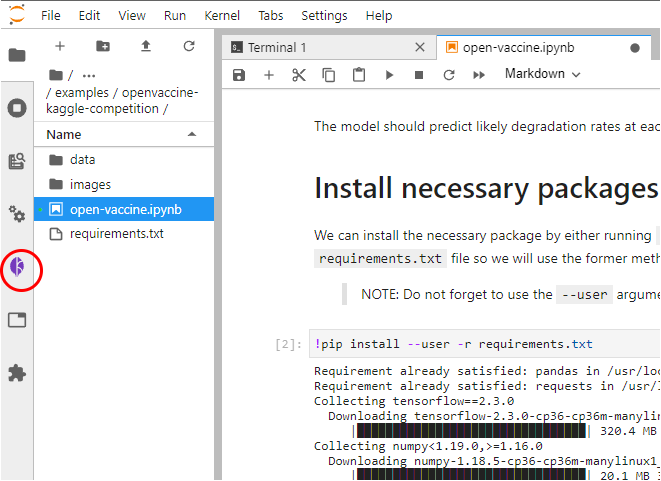
13. Click on the KALE icon in the left pane of the notebook.
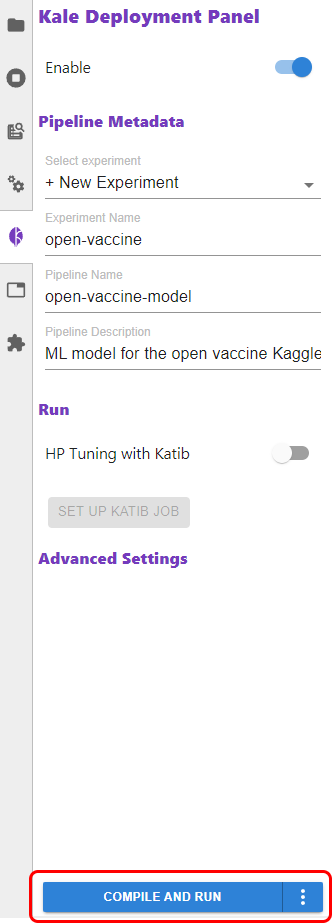
14. Enable Kale by clicking on the slider in the Kale Deployment Panel:
15. Click on the COMPILE AND RUN button.
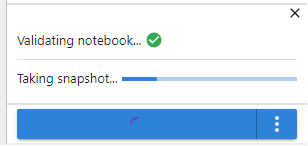
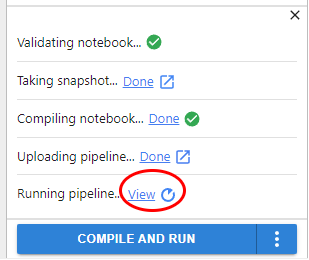
16. Now Kale takes over and builds your notebook, by converting it to a KFP pipeline. Also, since Kale integrates with Rok to take snapshots of the current notebook’s data volume, you can watch the progress of the snapshot. Rok takes care of data versioning and reproducing the whole environment as it was when you clicked the COMPILE AND RUN button. This way, you have a time machine for your data and code, and your pipeline will run in the same environment where you have developed your code, without needing to build new Docker images.
17. The pipeline was compiled and uploaded to Kubeflow Pipelines. Now click the link to go to the Kubeflow Pipelines UI and view the run.
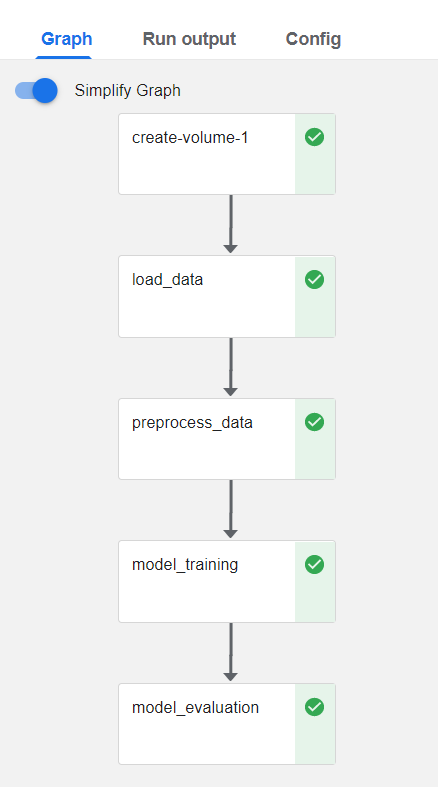
18. The Kubeflow Pipelines UI opens in a new tab. Wait for the run to finish.
Next Steps
Congratulations! You’ve just run your first end-to-end Kubeflow Pipeline to train a model.
What’s next?
- Work at your own pace on a variety of hands-on labs and tutorials at Arrikto Academy
- Schedule a custom Kubeflow workshop for your team
- Develop your own models!
